My Greenhouse and Garden

Home | Misc. Flower Pics Page One | Misc. Flower Pics Page Two | Misc. Flower Pics Page Three | Daylilies Page One. | Daylilies Page Two. | Building the Propagation Chamber | My Favorite Sites | Favorite Flower Pic's | My Favorite Place to Chill | Some Friends of Mine | Ask Rich | Contact Me

Building the Propagation Chamber

This is the basic steps in building my propagation chamber.

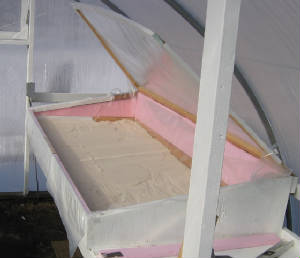
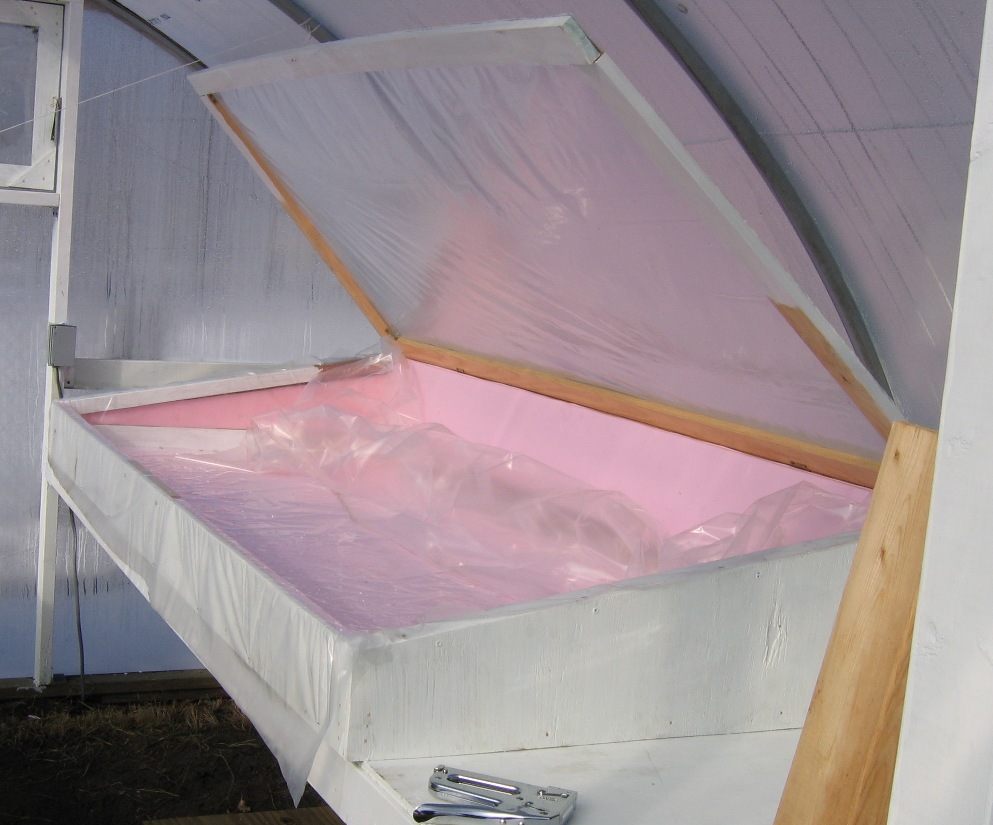
First I built the basic box, About four foot by eight foot. I used plywood and 2" x 4"s. I insulated the 
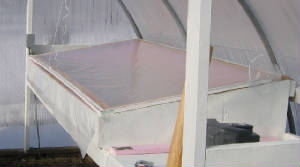
bottom and the sides. I then lined it with plastic so the sand would not leak out. The lid is made with 1"x 3"s, and hindged in the back.

The Box
propagator2.jpg

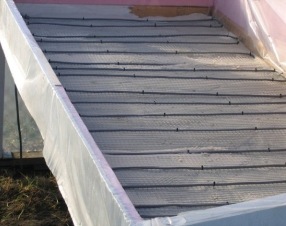
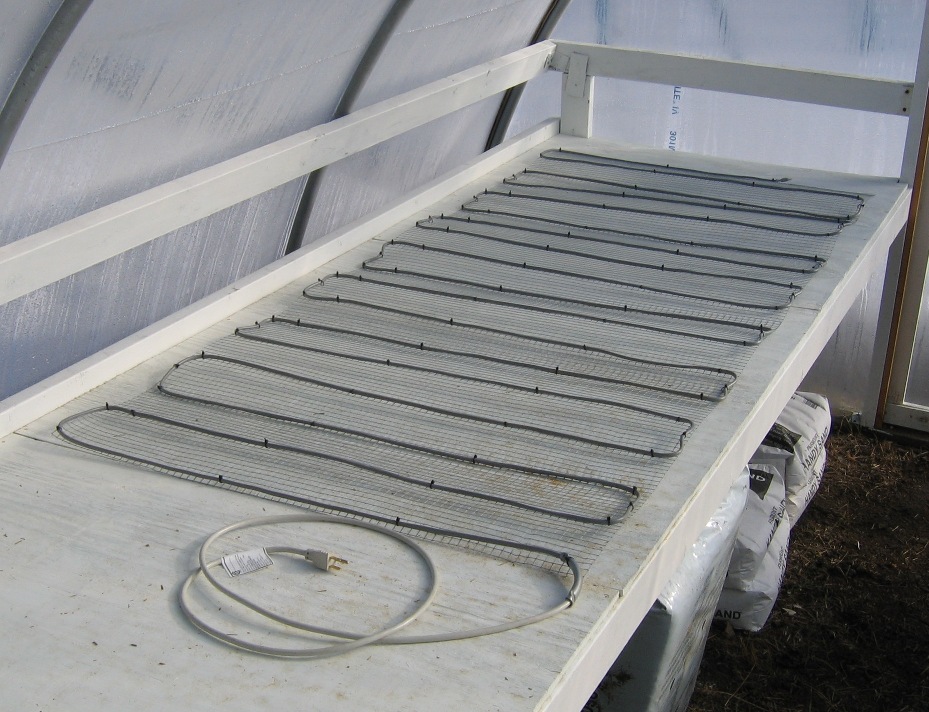
I made the Heat Matt using gutter heat cable and hardware cloth. The Hardware cloth is 1/2" by 1/2" wire mesh. I used plastic wire ties to attach the heat cable to the hardware cloth. I laid it out in loops five inches apart.

Heat Cable
heatcable2.jpg

Next I put in 2"s of sand in the propagation box.

Add Sand
propagator3.jpg

The Heat Matt goes in next.

Put Cable in Box on Sand
propagatorc.jpg


I mounted a heat matt thermostat to the wall, and pluged the matt into it. It has a temperature probe to insert into a plant tray. Set the thermostat to the desired temp.

Plug Heat Cable into Thermostat
thermostat1.jpg

Close the lid and your ready to go.

All Done Lid Closed
propagator4.jpg